How to Install a VPN on Your Router for Enhanced Internet Security
In today's digital age, securing your online presence is more critical than ever. As we utilize the internet for various activities—be it for work, entertainment, or communication—we expose ourselves to potential threats. One of the best ways to protect yourself is by using a VPN (Virtual Private Network). But did you know that installing a VPN on your router can significantly elevate your online security? In this comprehensive guide, we will walk you through the process of installing a VPN on your router and discuss the myriad benefits that come with it.
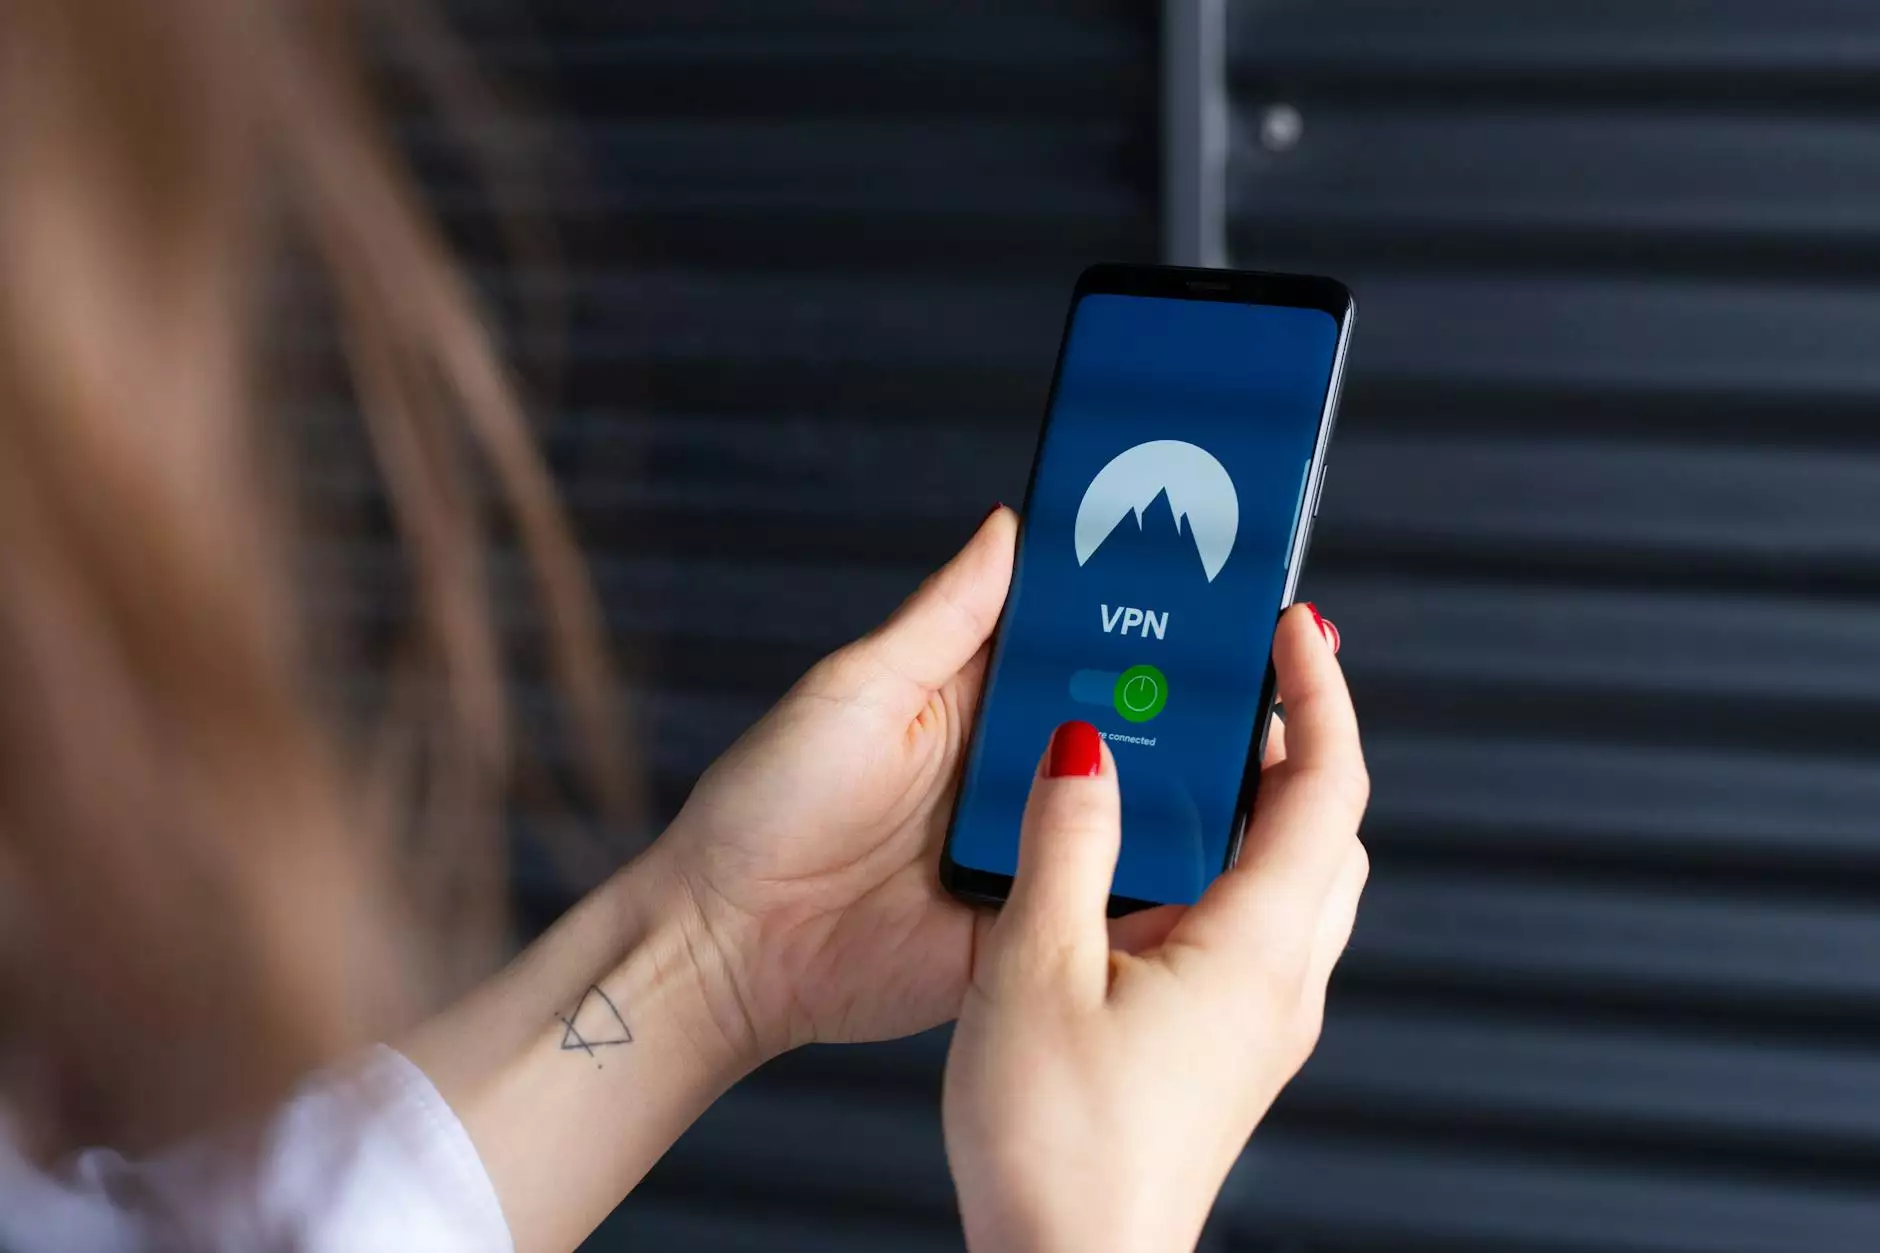
What is a VPN?
A VPN is a service that creates a secure and encrypted connection between your device and the internet. This connection masks your IP address and makes your online actions nearly untraceable. By routing your internet traffic through a remote server operated by the VPN provider, it essentially creates a private network over the public internet. This means your data is protected, even on unsecured networks.
Benefits of Using a VPN
- Enhanced Security: A VPN encrypts your internet traffic, making it difficult for hackers and third parties to intercept your data.
- Improved Privacy: It masks your IP address, thus improving your online anonymity.
- Access to Restricted Content: A VPN allows you to bypass geo-restrictions, enabling access to websites and streaming services that may be blocked in your region.
- Safe Connections: It provides a secure connection for public Wi-Fi, reducing the risk of data theft.
Why Install a VPN on Your Router?
Installing a VPN directly on your router offers several compelling advantages over using a VPN on individual devices:
- Protect All Devices: A router-level VPN protects every device connected to the network, including smartphones, tablets, and smart TVs.
- Ease of Use: Once set up, a router VPN connects automatically for all devices, eliminating the need for individual setups.
- Consistent Protection: It ensures that all your connections are secure, even those from devices that do not have native VPN support.
- Management and Control: Centralized management of VPN settings can be easier and more efficient.
How to Install a VPN on Your Router
Now that you understand the benefits, let’s delve into the step-by-step process of installing a VPN on your router.
Step 1: Choose a Reliable VPN Provider
The first step is to select a VPN provider that's compatible with routers. Popular options include ZoogVPN, NordVPN, ExpressVPN, and others. Look for providers that offer:
- Router Compatibility: Ensure that the provider supports router installations.
- Strong Encryption: Go for services that use robust encryption protocols for maximum security.
- No-logs Policy: Choose a VPN that does not keep logs of your activities.
- Customer Support: 24/7 customer support can assist with setup and troubleshooting.
Step 2: Access Your Router’s Admin Panel
Next, you need to access your router's admin panel. This varies by manufacturer, but generally, you can do this by:
- Connecting your computer to your router via Ethernet or Wi-Fi.
- Opening a web browser and entering your router's IP address (common addresses include 192.168.1.1 or 192.168.0.1).
- Logging in with your credentials (username and password). If you haven't changed these, they may still be set to the default.
Step 3: Flash Your Router (if necessary)
Some routers come with stock firmware that does not support VPN functionalities. In such cases, you may need to install custom firmware like DD-WRT, Tomato, or OpenWrt. Here’s how:
- Download Firmware: Visit the official website of the firmware you want to use and download the correct version for your router model.
- Upload Firmware: In your router’s admin panel, find the firmware update section and upload the downloaded file.
- Reset Router: After flashing, reset your router to factory settings to ensure smooth operation.
Step 4: Configure the VPN Settings
Once your router is equipped with the right firmware, it’s time to configure the VPN settings:
- In the admin panel, navigate to the VPN settings section.
- Enter the VPN provider’s details including server addresses, your account username, and password.
- Select the type of VPN protocol (usually OpenVPN is recommended for most users).
- Enable the VPN and save changes.
Step 5: Test Your VPN Connection
To ensure everything is working correctly, it’s essential to test your VPN connection:
- Disconnect from your router and then reconnect to ensure the VPN is active.
- Visit a site like WhatIsMyIP to see if your IP address matches the VPN server.
- Check for DNS leaks using tools available online!
Troubleshooting Common Issues
Sometimes, you might run into issues while setting up your VPN on your router. Here are some common problems and their solutions:
- Connection Drops: If your connection drops frequently, check your internet settings, reboot the router, and ensure your VPN configuration is correct.
- Access Denied to Websites: Some websites may block VPN traffic. Try switching servers or protocols.
- Slow Speeds: VPN usage can affect internet speed; experiment with nearby VPN servers for better performance.
- Inability to Connect: If your devices cannot connect to the VPN, make sure the credentials are correct and that the VPN is running on the router.
Conclusion
Installing a VPN on your router is a powerful way to boost your online security and privacy. Not only does it protect your information, but it also allows unrestricted access to content around the world. By following this guide, you can ensure that every device in your home benefits from a secure and private connection. Remember, with a service like ZoogVPN, you’re investing in a safer, more secure internet experience.
Embrace the future of browsing with confidence; ensure that you install a VPN on your router today!
instal vpn on router